Views: 81 Author: Site Editor Publish Time: 2019-11-07 Origin: Site
Whatever brand or size outboard you have, use the maintenance schedule outlined in your owner's manual. Follow any specific recommendations and use any special applicable procedures. Use only specified lubricants and replacement parts; if you use different ones you'll void your warranty.
Start your preseason checkout with a visual inspection. With the motor off, remove the cowling to expose the power head. Starting at the propeller, at the bottom of the lower unit, examine the motor for signs of leaking lubricants; look around the propeller and below the fill screws on the side of the gear housing. A little oil is normal, but if there's a dark oil stain running down from the propeller, there could be a leak in the seals behind the propeller. This should be repaired by a qualified outboard mechanic.

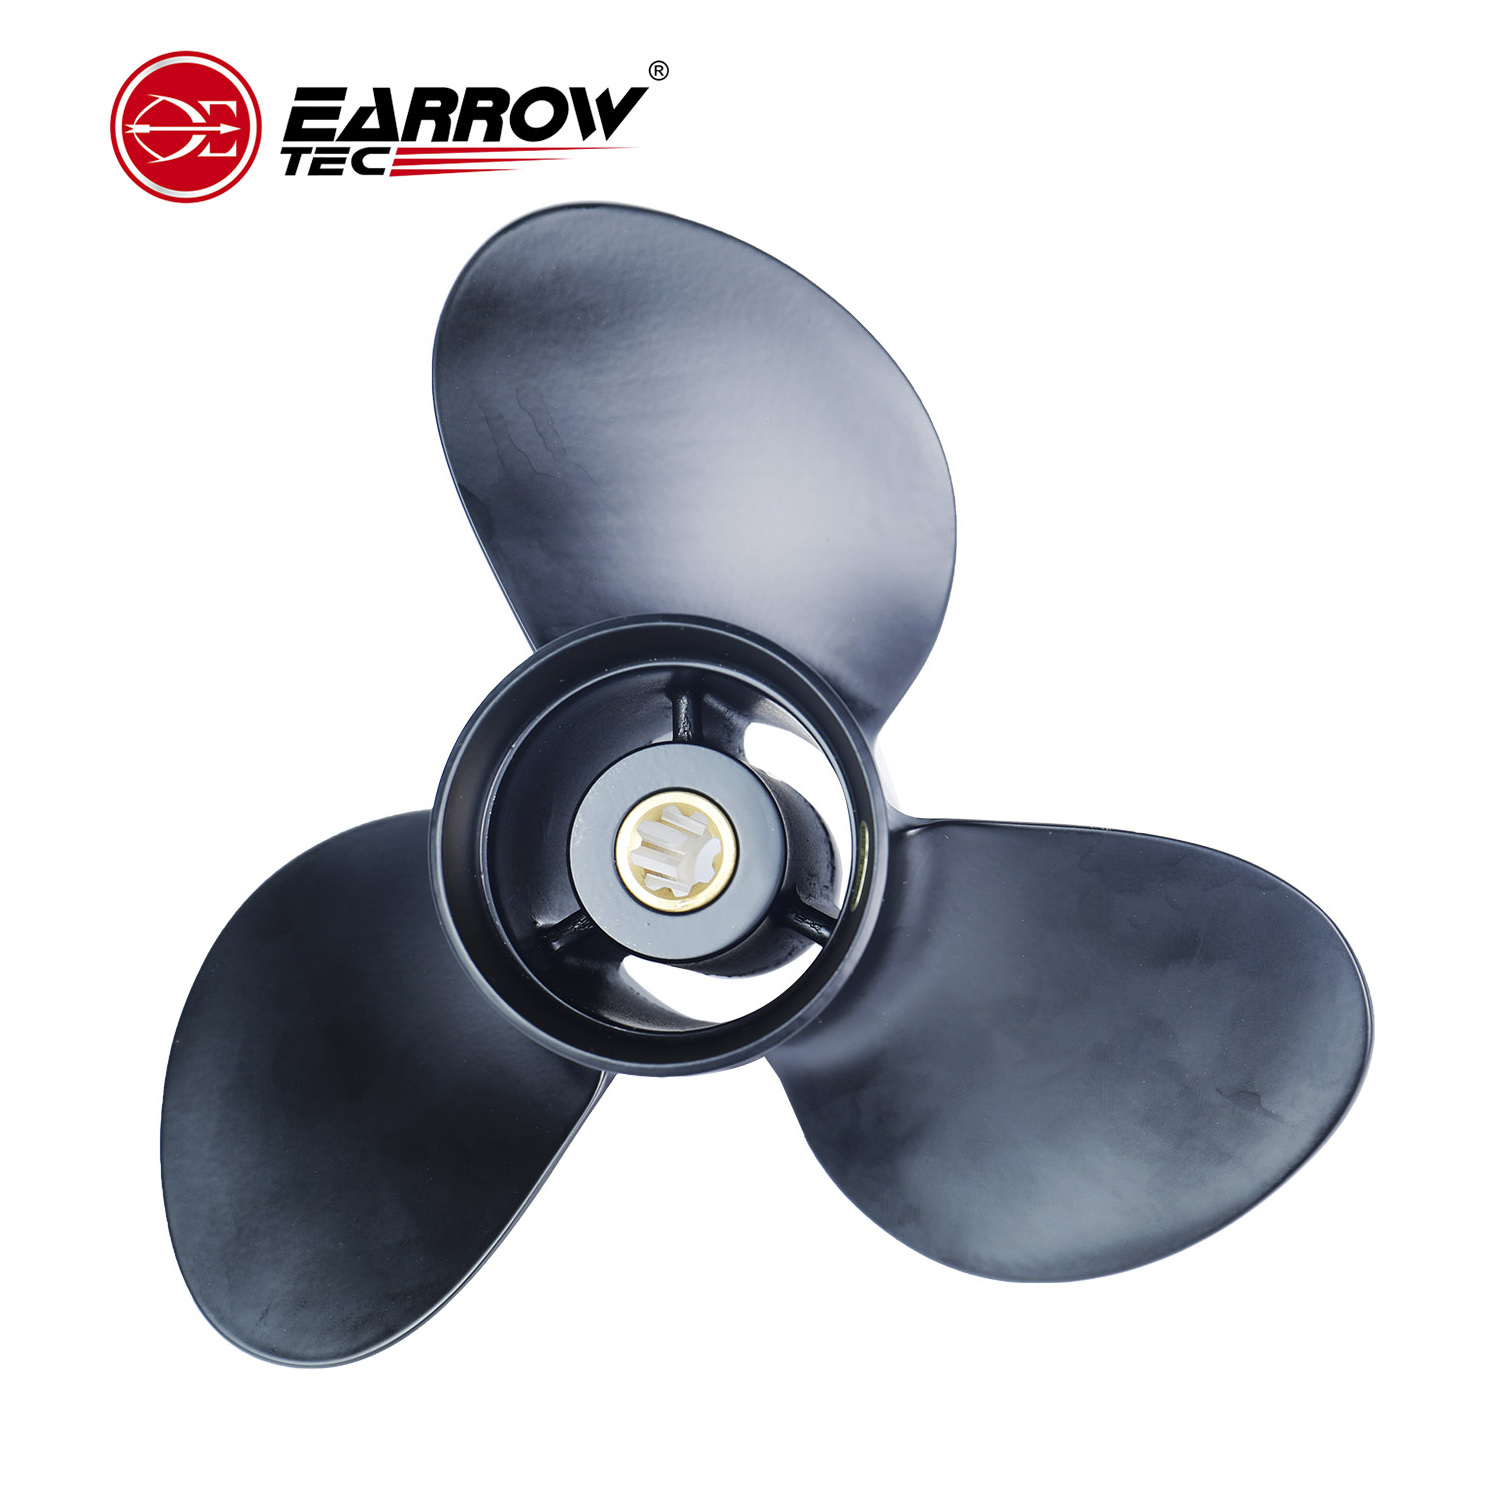
A bad propeller wastes fuel and increases wear to the lower unit; examine the propeller carefully. Look for small cracks in the blades near the hub, for large nicks in the blade tips; check to see whether the blades are bent or misaligned. If you find any of these conditions, take the propeller to a propeller specialist or to the dealer; don't try to repair the damage yourself.
If your owner's manual recommends periodic lubricant changes for your motor's lower unit, remove the unit's top and bottom fill plugs and let the lubricant drain into a coffee can or other container. Replace the lubricant with the type recommended for your motor. Insert the lubricant applicator's nozzle into the bottom fill hole and squirt the lubricant into the gear case. When the lubricant starts to come out the top fill hole, replace the top plug; then remove the applicator nozzle and replace the bottom plug. Remove excess lubricant with a soft cloth.
Inspect the lower unit, working upward, for loose or missing nuts or bolts; consult the drawings and follow the precise instructions provided in your owner's manual. Tighten loose screws, nuts, and bolts; replace missing hardware with the exact type recommended for use in your motor.
At the transom clamp bracket, lubricate the grease fittings, as directed in your owner's manual. Lubricate the swivel bracket -- the bearing the motor turns on -- with the waterproof marine grease recommended for your motor; then lubricate the transom clamp screw threads with the same grease.
Work the throttle control on the engine; twist the hand throttle or move the control lever the throttle control cable is attached to. As you work the throttle control, watch the motor to identify moving parts inside the power head. Lubricate all moving parts with the waterproof marine grease recommended for your motor. Move the forward-reverse shift lever and watch for movement inside the motor; lubricate all pivot points. Then gently pull the starter cord and watch the starter pinion gear that engages the flywheel at the top of the motor; lubricate the gear and the bearing inside.
After lubricating moving parts inside the power head, disconnect the spark plug wires. Be careful to note their location exactly so you'll be able to replace them correctly. Using an adjustable wrench, remove each spark plug and replace it with a new one of the correct types for your motor; first hand-tighten and then wrench-tighten each plug. Be careful not to over tighten the plugs; excessive pressure could damage the aluminum cylinder head.

At least once a year, to ensure smooth running, replace the motor's fuel filter; use a new filter of the type recommended for your motor. The fuel filter is usually located inside the motor's cover at the engine end of the fuel pump or incorporated into the fuel pump; check your owner's manual and follow the manufacturer's instructions. Clean out any accumulated water and sediment and replace the filter element with a new one of the correct types.
Replace the cowling on the engine. To protect the finish and prevent corrosion, apply a coat of car wax to the cowling, as directed by the manufacturer. Then mix fuel for the motor, using the sportion of fresh fuel and oil specified in your owner's manual. Mount the motor, in water for testing.
Finally, with the motor mounted, start the engine. Immediately check for a flow of water somewhere at the rear of the engine; this indicates that the water pump is functioning properly. Let the engine warm up for at least 2 minutes and then adjust the low-speed carburetor jet, turning the fuel-mix knob on the front of the motor until the motor idles smoothly. Put the motor into gear and go for a short ride; then idle down and readjust. If your motor has an idle adjustment, turn the control until the engine idles smoothly and doesn't die when you shift into gear.
By performing this periodic maintenance, you can keep your boat's outboard motor in good working condition.